Vision Pipeline Setup in Capture
Vision Pipeline Setup in Capture
Before iOPTIQ can show a single inspection, the vision data has to arrive in Capture and be stored in the right places. This guide walks through that Capture-side setup, in the order you should do it:
- Create the databases that hold your metadata, your images and your predictions, and link them together.
- Set up the edge device that logs the vision data into those databases.
Once both steps are done, you can create your iOPTIQ project and map the data to the interface — see Configuration.
If you are not yet familiar with what iOPTIQ does with this data, read the Overview first.
The three databases
A vision pipeline writes to three Capture databases. Each one holds a different part of the inspection:
| Database | Type | Holds |
|---|---|---|
| Main database | Influx or Timescale | The metadata and the references to your images and predictions |
| Blob database | Blob | The image files themselves, in your own Azure container |
| Predictions database | Timescale only | The predictions produced by your vision model |
The main database is the entry point: iOPTIQ connects to it, and from there it follows the references to the images in the blob database and to the predictions in the predictions database. That is why all three have to exist and be linked before the application can show anything.
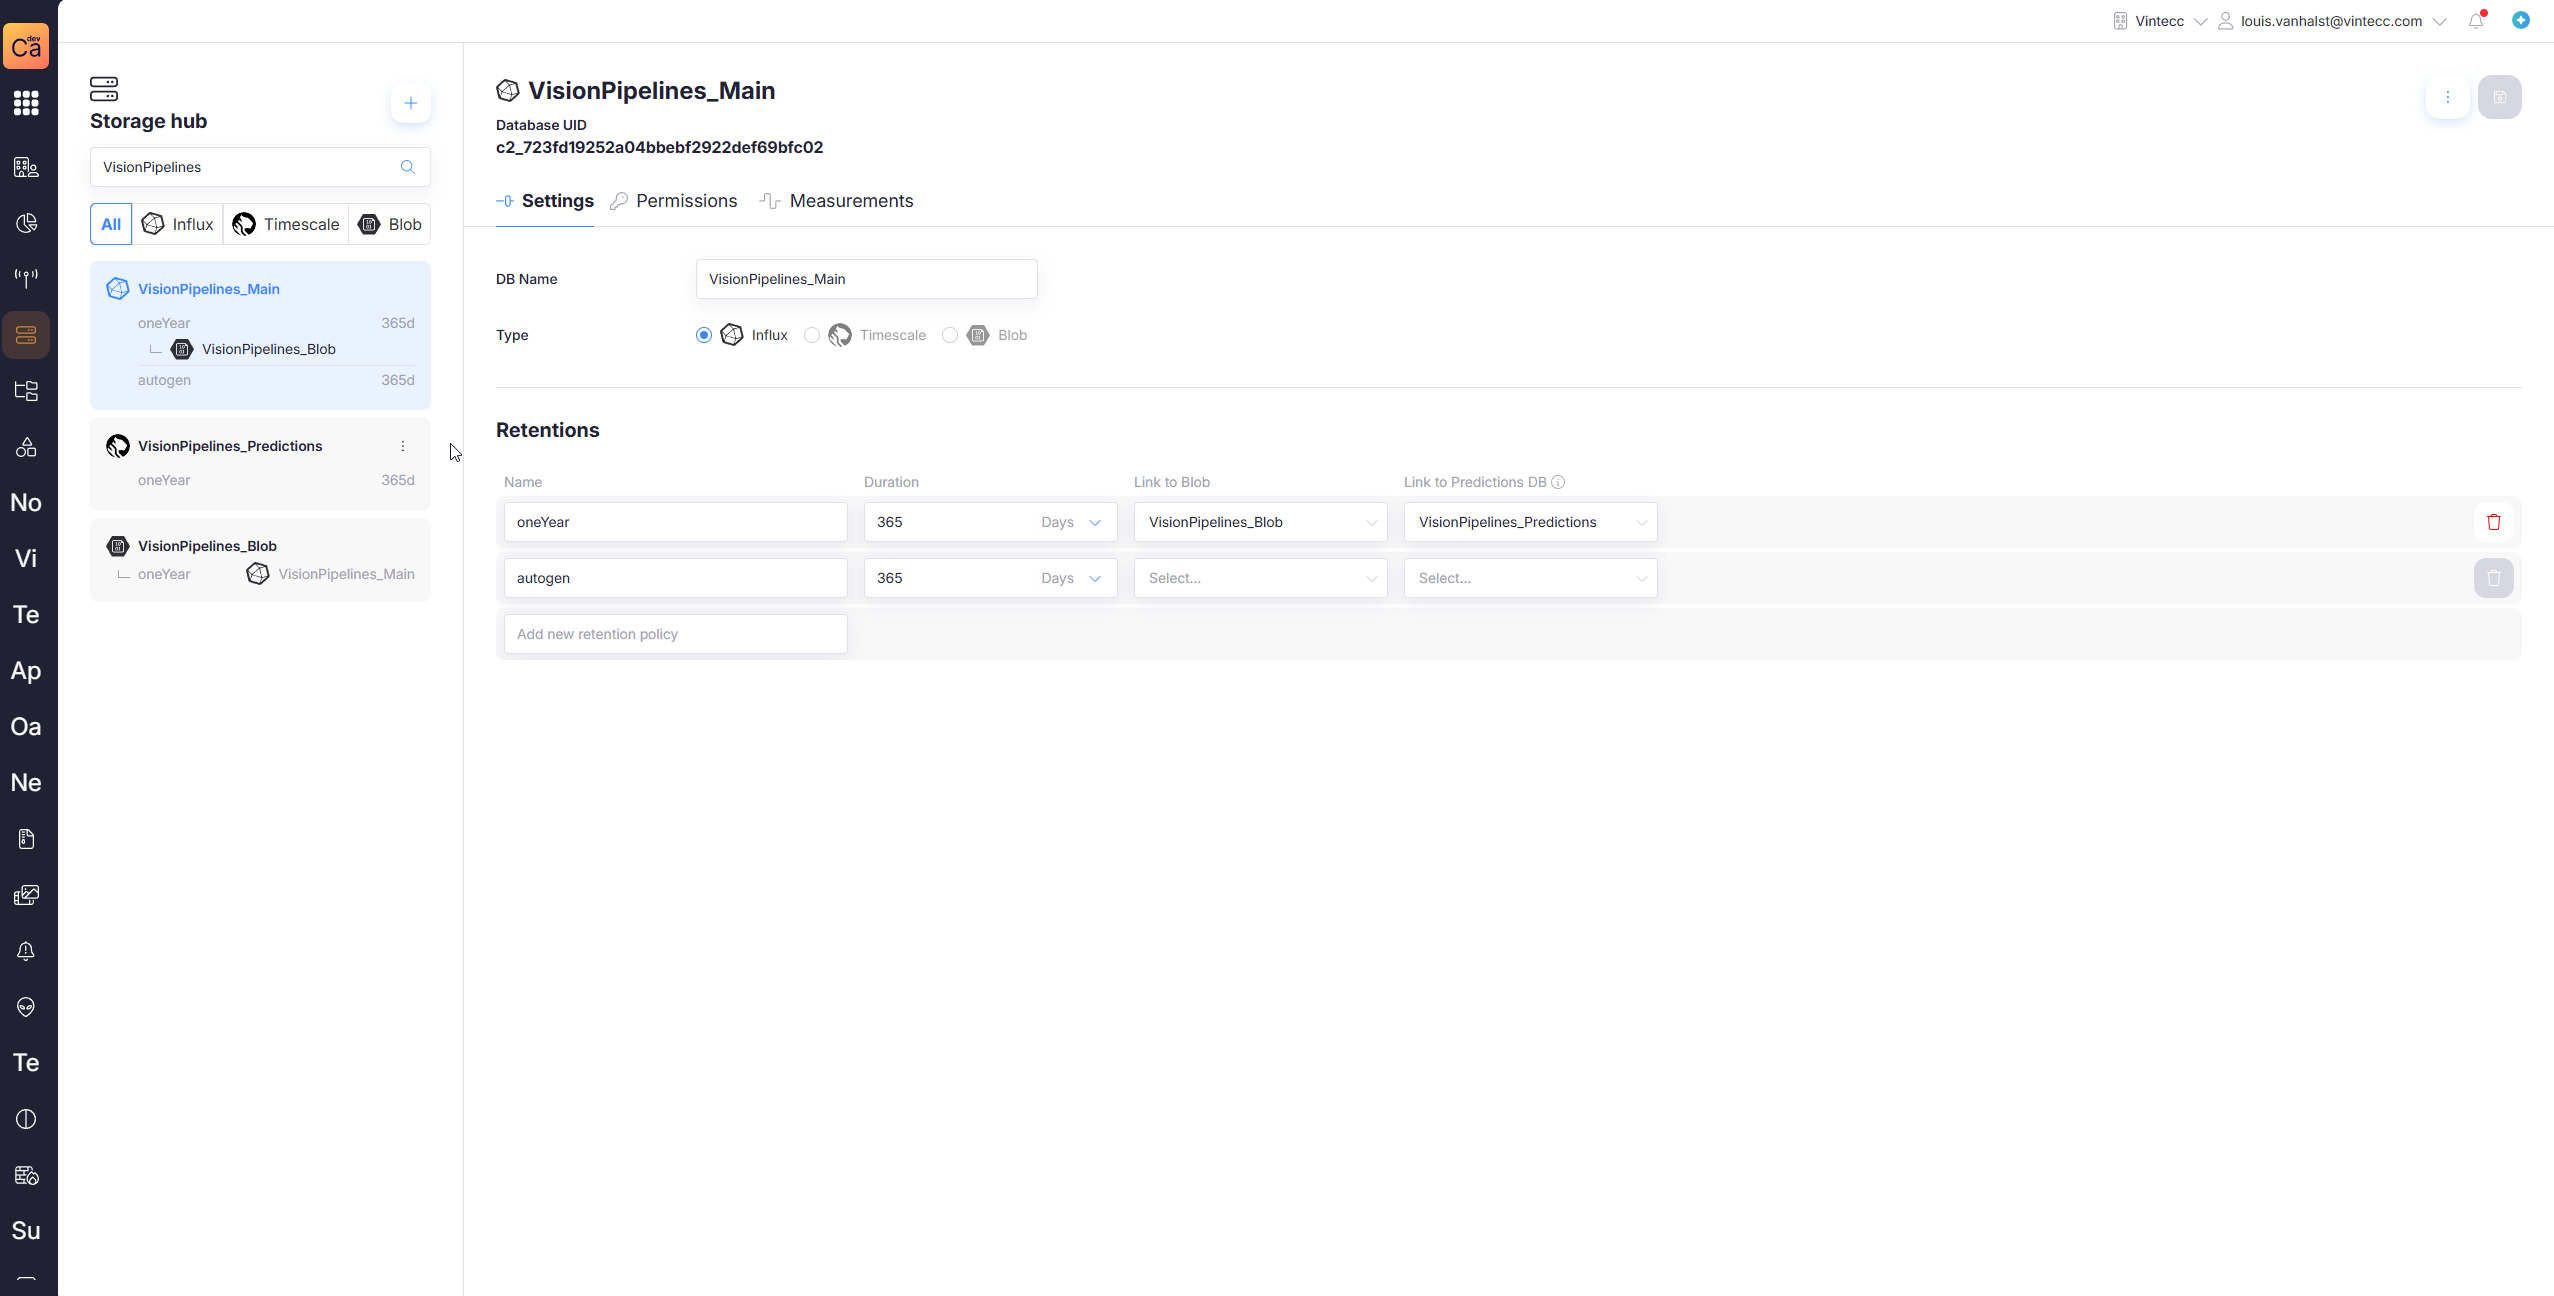
Step 1 — Create the databases
All three databases are created in the Storage Hub app, using the + button to open the Add Capture Storage wizard.
The wizard itself is documented in full on the Databases page. The sections below only cover what matters for a vision pipeline.
1.1 Main database
Create the main database first — it is the one everything else attaches to.
- Open Storage Hub and click +.
- In General, fill in a DB name and pick Influx or Timescale as the Type.
- In Retention(s), add the retention policy the vision data should be written to (for example
oneYear,365 days). - Set the Permissions and finish the wizard.
1.2 Blob database
The blob database is a link to an Azure Blob Storage container that you own. Capture uploads the inspection images into that container and reads them back when iOPTIQ displays an inspection — the files themselves never leave your own Azure subscription.
- Open Storage Hub and click +.
- In General, fill in a DB name and select Blob as the Type.
- Paste your Blob SAS URL into the URL field.
- Optionally enable Retention and enter a number of days. Files older than that are automatically removed from the container.
- Finish the wizard.
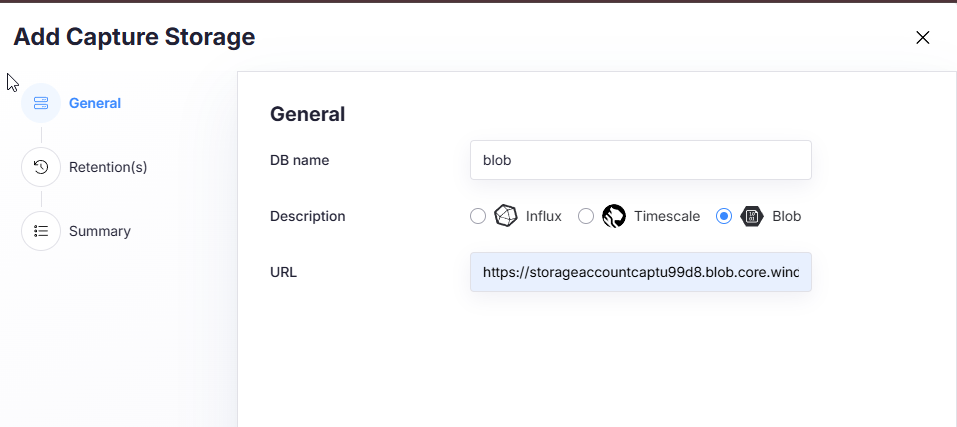
The Azure side is a prerequisite. You need an existing Storage Account, a Container inside it, and a SAS URL for that container with at least Read, Create and Write permissions. If you also want Capture to clean up older images through the Retention setting, the SAS needs Delete and List as well.
A SAS URL has an expiry date. Once it expires, Capture can no longer read or write images — paste a freshly issued URL into the blob database to restore access.
1.3 Predictions database
The predictions database stores everything your model detected on each image: the bounding boxes, masks and keypoints, together with their labels and confidence. What it holds and why it is a separate database is described on the Predictions database page.
- Open Storage Hub and click +.
- In General, fill in a DB name and select Timescale as the Type.
- Add a retention policy and set the permissions, exactly as you did for the main database.
- Finish the wizard.
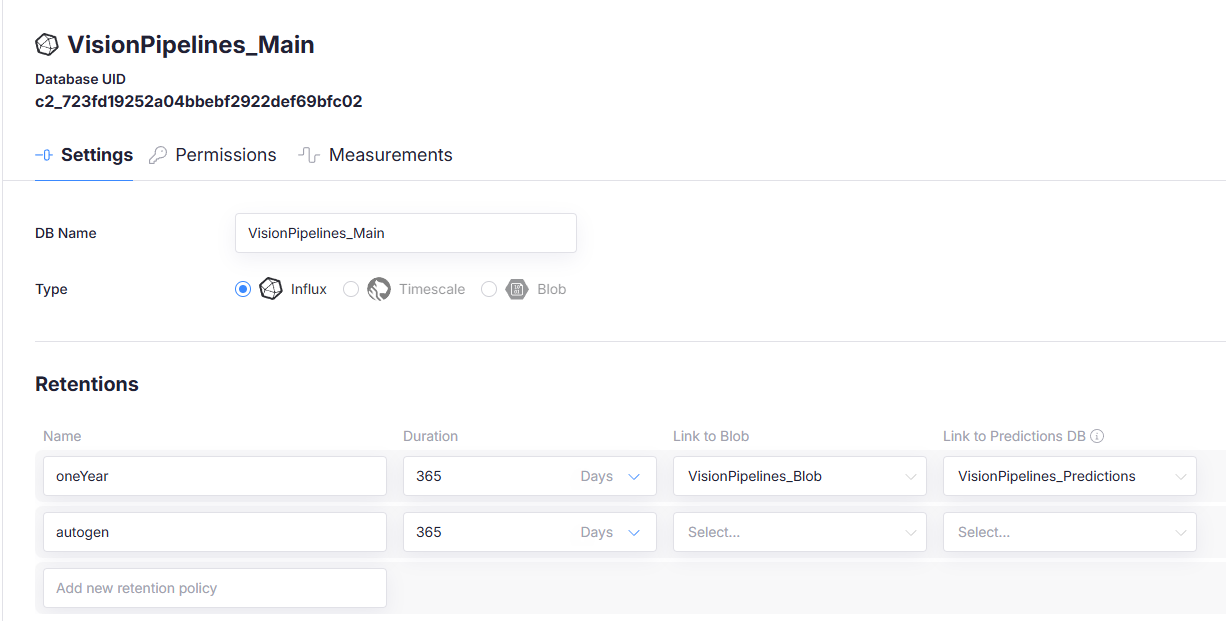
The predictions database must be Timescale. Influx is not an option here.
iOPTIQ filters inspections on the predictions found in each image, and that filtering relies on the Timescale schema. A predictions database on Influx cannot serve those filters.
1.4 Link the main database to the blob and predictions databases
The three databases only work together once the main database knows where its images and predictions live. Both links are made on the retention policy of the main database.
- Open Storage Hub and select your main database.
- Go to the Settings tab.
- Find the retention policy you created in step 1.1, in the Retentions table.
- In the Link to Blob column, select your blob database.
- In the Link to Predictions DB column, select your predictions database.
- Save.
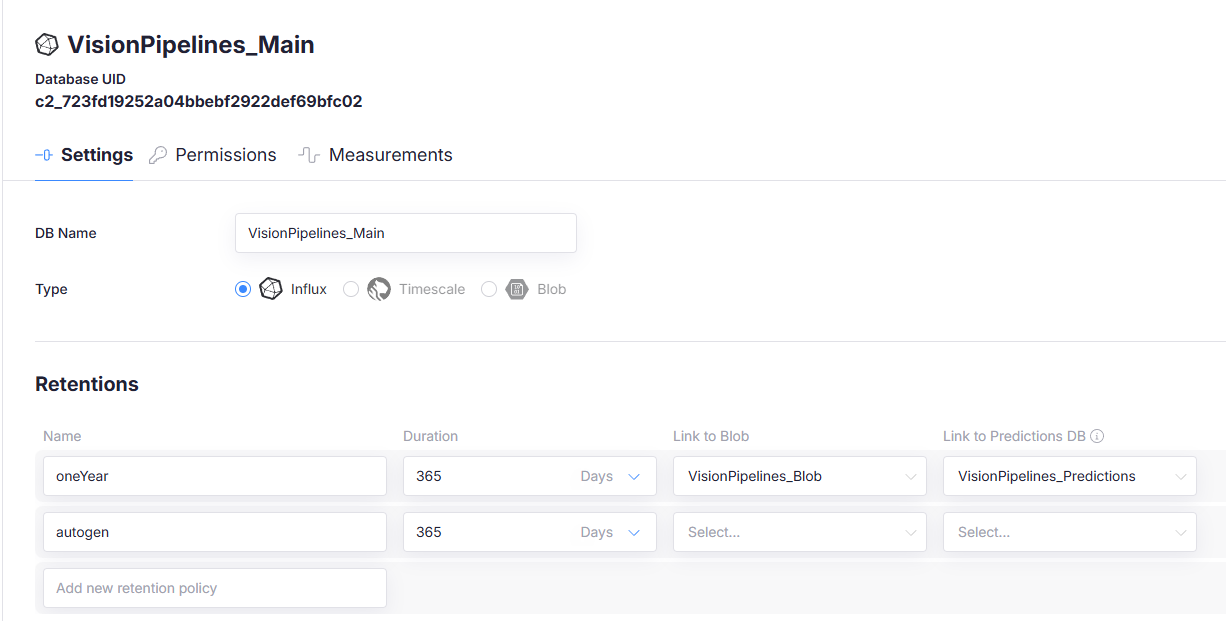
Both links live on the retention policy, not on the database as a whole. If your main database has several retention policies, set the links on the policy that the vision data is actually written to — the same one you select on the edge device in the next step. In the screenshot above, only the oneYear retention is linked; autogen is left empty.
Step 2 — Set up the edge device that logs the data
With the databases in place, you need an edge gateway (or logger) that sends the vision data into Capture.
Onboarding a gateway is covered in Add Edge Gateways. Follow that guide, and when you reach the Retentions step:
- Select only the retention policy of your main database.
That is the only storage target the device needs.
You do not select the blob or predictions database on the device. Images and predictions are routed to them automatically through the links you configured in step 1.4 — the device writes to the main retention, and Capture distributes the data from there.
Collector configuration
Selecting the retention is not enough — the collector also has to be told what the vision object looks like. This is done in the collector configuration of your device, on the connection that receives the vision data.
Log the vision object on a single variable
The whole vision object arrives as one payload, so you log it as one variable on one measurement. Create a measurement for your vision data and add a single variable to it that maps to the source of the object:
| Setting | Value |
|---|---|
| Name | The variable name, for example VisionPipelines |
| Collect type | On change |
| Condition | Always |
| Mapping | The address the vision object is published on, for example vintecc/capture/VisionPipelinesObject |

Adding measurements and variables is documented in full on the Measurements page.
Declare the predictions as an additional property
The vision object carries the predictions in a nested object — captureVisionPredictions — that sits outside the tags and fields. The collector does not recognise such an object by default and will silently drop it, which means your predictions never reach the predictions database.
To keep it, declare it as an additional property in the configuration. This cannot be done from the UI:
- Open the collector configuration of your device and click edit config to open the JSON editor.
- Search for
collectorSettings. - Add the following to its
additionalPropertiestag:
[
  {
    "id": 1,
    "propertyName": "captureVisionPredictions"
  }
]
- Save the configuration and sync it to the device.
Without this entry, everything else can be configured correctly and the inspections will still arrive without their predictions. If iOPTIQ shows images but no bounding boxes, masks or keypoints, check this setting first.
The id is a short, unique identifier used internally between collecting and syncing. The value itself does not matter, but it must be unique within additionalProperties and should not be changed afterwards.
Additional properties are a general collector mechanism, not something specific to vision. See Capture Object With additional properties for the full description and the rules that apply.
Data format
The device has to send its vision data in the shape Capture expects, so that the images end up in the blob database and the predictions in the predictions database.
Below is an example of the data an edge device should send:
{
  "Name": "CaptureVisionTestApp",
  "Timestamp": 1787143509786,
  "Tags": {},
  "Fields": {
    "image": "data:image/jpeg;ext=jpg;dstPath=CaptureVisionTestApp/2026_08_19/01a01a0d-d71a-7040-8521-8cc56c8fba6b... (217746 chars)",
    "uuid": "01a01a0d-d71a-7040-8521-8cc56c8fba6b",
    "width": 1224,
    "height": 1024
  },
  "captureVisionPredictions": {
    "detections": {
      "time": 1787143509.7656584,
      "image_width": 1224,
      "image_height": 1024,
      "bbs": [
        {
          "category_id": null,
          "label": "Other",
          "conf": null,
          "metadata": null,
          "xtl_r": 0.26338235294117646,
          "ytl_r": 0.41392578125,
          "xbr_r": 0.35827614379084965,
          "ybr_r": 0.5478515625,
          "image_width": 1224,
          "image_height": 1024
        }
      ],
      "keypoints": null,
      "contours": null,
      "classification": null,
      "height": 1024,
      "width": 1224,
      "other": {}
    }
  }
}
Next steps
Your Capture setup is now complete: the databases exist, they are linked, and the device is logging into them.
Continue with Configuration to create your iOPTIQ project, connect it to the main database, and upload the source configuration that maps your data to the interface.